If I'm in my camera roll and I hit "Edit", a delete button pops up, but when I'm in my "Photo Library" there is no delete button. I need to delete these photos because they're taking up too much space. How do I delete photos from my "Photo Library" on an iPhone 5? I want to selling my old iPhone 5 and buy a new Samsung Galaxy S5.
Deleting photos from Photo Library is different from deleting photos from iPhone Camera Roll. Photos saved in your iPhone Photo Library are synced from your computer other than taken with your iPhone Camera. When you open Photos app on iPhone, tap to open the Photo Library album, then open a photo from there, you will find there is no trash can, button or any delete icon. Instead of removing these photos from the Photos app on iPhone, you need to delete the photos from your computer by iTunes sync.
Delete iPhone Messages: tap Settings > General > Usage, you can see that messages have eaten your iPhone storage. Don't worry! Click Delete SMS or Delete Message attachments in the left navigation bar to release space.
Delete iPhone Photos: whether your iPhone Camera Roll is bulged with photos, or duplicate photo albums exist on your iPhone, multiple solutions are introduced in the corresponding part to tell you how to do it easily.
Delete music and videos on iPhone: you might delete songs and videos to free up spaces. However, it happens all the time that deleted songs and videos reappear on iPhone again and again. To solve the problem, you're very likely to apply the way mentioned in this article.
Delete iPhone Apps: either for deleting apps on iPhone, or removing app data while keeping app, you can find the best and simplest ways in this article.
Delete iPhone System Options: passcode, restrictions, VPN, mail, calendar, bookmark, etc. make it rather easy for us to keep our privacy or surf the Internet. However, sometimes we might need to change it a little bit. In this case, you must know how to change the corresponding settings.
Tips: The simple "
Delete" is not enough, and "
Erase All Content and Settings"
doesn't really delete data, because some iPhone data recovery can get them back.However,to delete all iPhone data permanently,even professional
iPhone data recovery can not get them back,you must to use a third-part iOS Data Eraser program.
 |
| Delete iPhone data permanently |
To delete photos from iPhone Photo Library,SMS, Contacts, Videos, Call logs, Apps and other iPhone data to save your iPhone space, please follow the below steps.
iPhone Data Eraser is the ideal iDevice "erase" application designed to permanently wipe all personal information from the device using US Military spec over-writing technology to render the data unrecoverable; returning the device to a “clean slate” state before you resell, donate or trade it in.
Tips: Before selling your old iPhone,please remember
delete contacts from iPhone permanently with this iOS Data Eraser software.

 Wipe All Data from iPhone Permanently before selling it
Step 1. Run the program and connect your iPhone to PC
After the installation, run iPhone Data Eraser on your computer. Then get your iOS device connected with a USB cable to the computer. When the program recognizes your device, you’ll see its main window as follows.
 |
| connect your iPhone/iPad/iPod touch |
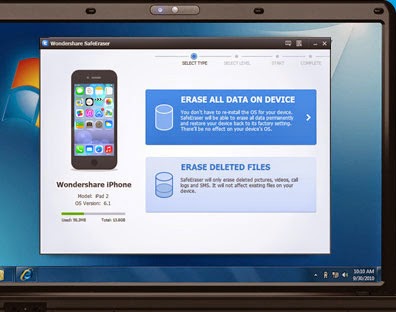
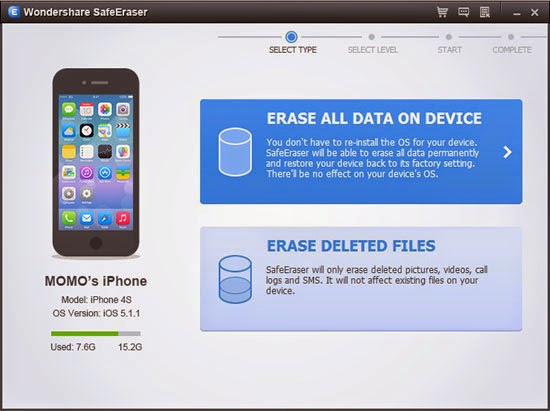
Step 2. Choose a type of data erasing
Erase all data on device: Erase all data and settings permanently.
Erase deleted files: Only erase deleted pictures, videos, call logs and messages, making them unrecoverable.
Please choose the first type (the other type is not available yet).
 |
| Scan your iPhone data |
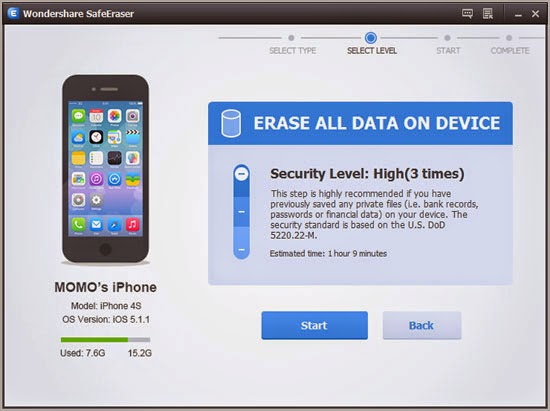
Step 3.
Start to erase all data on your iPhone now
There are three security levels to erase all data on your device:
Low: Overwrite all of your data with zeros to ensure that the files are not recoverable.
Medium: Overwrite your device with junk files to ensure that the files are not recoverable, and no one knows that you've erased your device. .
High: Erase and overwrite your device three times, and the security standard is based on the U.S. DOD 5220.22-M, more secure for confidential data destruction on your device.
 |
| erase all data on your device |
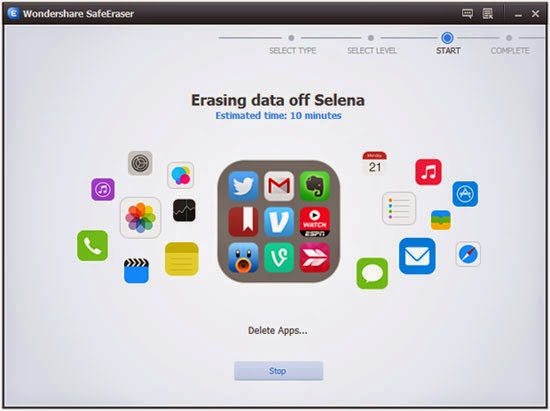
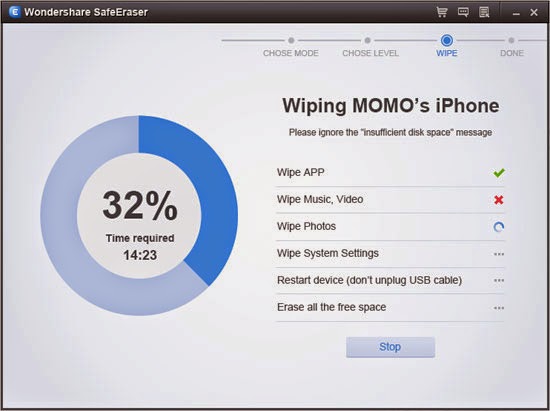
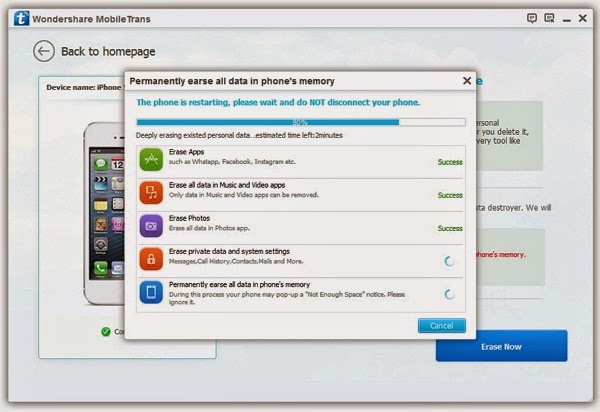
You can choose any of them according to your requirement. Higher levels will ask for more time. Here, let’s choose the medium one. Then click on the Start button. To make sure that you've backed up your important data and still want to move forward, you need to type a word shown you in the input box and click Confirm. Now, the program begins erasing all data on your device as shown below.
Note: Please don’t disconnect your device during the process. Or data on your device will not be completely erased.
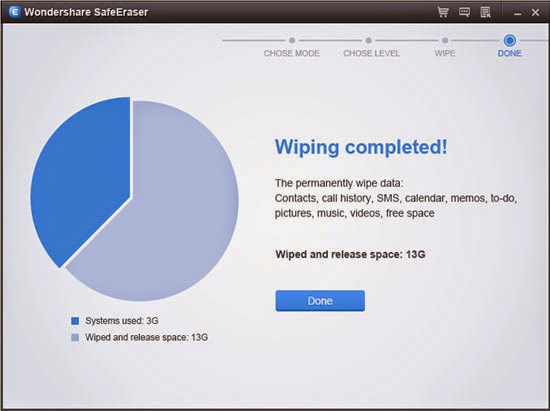
Step 4. Use your device as a new one
When your device is erased completely, you’ll get a totally new device. You can set it as a new device or choose to restore it from iTunes/iCloud backup. If the backup contains the data you don’t want, you’re suggested not to restore from it.
 |
| Finish erase iPhone data permanently |
iPhone Data Eraser is a trustworthy and useful software, which designed to delete iPhone data thoroughly, and the deleted data cannot be recovered any more. Due to this extraordinary feature, it become more and more popular among the iPhone users. The most laudable feature is that those data cannot be retrieved again once they are wiped by iPhone Data Eraser, even with any data recovery tool.
The iOS Data Eraser tool also can help you
erase iPhone data on Mac permanently.
Read more:
How to delete iPhone sms permanently
How to delete iPhone Contacts permanently


